SCIM Setup
To enable provisioning from Microsoft Entra ID to eHour you will need to create a new Enterprise application in your Microsoft Entra admin center. This guide helps you set up the Enterprise Apps using the new Entra admin UI at https://entra.microsoft.com/
This guide is written for IT administrators who manage Entra ID. You’ll need:
- An Entra ID P1 or P2 license (for custom mappings)
- Admin access to your Entra tenant
- An eHour SCIM token (available in your eHour Admin panel)
Follow the steps below to connect Entra ID to eHour and start provisioning automatically.
Configuring eHour
Before setting up provisioning in Microsoft Entra ID, you first need to enable SCIM in eHour.
Enable SCIM provisioning
- Go to Admin → Single Sign-on → SCIM Provisioning
- Enable SCIM provisioning
Copy the SCIM token
You will need this token when configuring provisioning in Microsoft Entra ID.
- Copy the Secret token
- You will use it later in the Entra ID setup
Configure team derivation
eHour can automatically assign users to teams based on your Entra setup.
You have two options:
Entra ID Groups → eHour Teams
- Teams in eHour are created from Entra groups
- Recommended if you already manage groups in Entra
Department attribute → eHour Teams
- Teams are derived from the
departmentfield on the user
Choose the option that matches how your organization manages teams.
Configuring Microsoft Entra ID
1 Enterprise Application creation
- Go to Microsoft Entra ID → Enterprise applications
- Click New application → Create your own application
- Name it something like “eHour SCIM”
- Choose “Integrate any other application you don’t find in the gallery”.
Avoid selecting the eHour gallery entry, as this only support SSO, not SCIM provisioning.

2 Configure Provisioning
- From the Getting Started list, select "3. Provision User Accounts"
- In the "Get started with application provisioning", select "Connect your application" in the Create Configuration section.
- Enter "https://ehourapp.com/scim/v2" as the tenant URL
- Enter the Secret token from eHour as the Secret Token.
- Click Test Connection. After a successfull test, click create

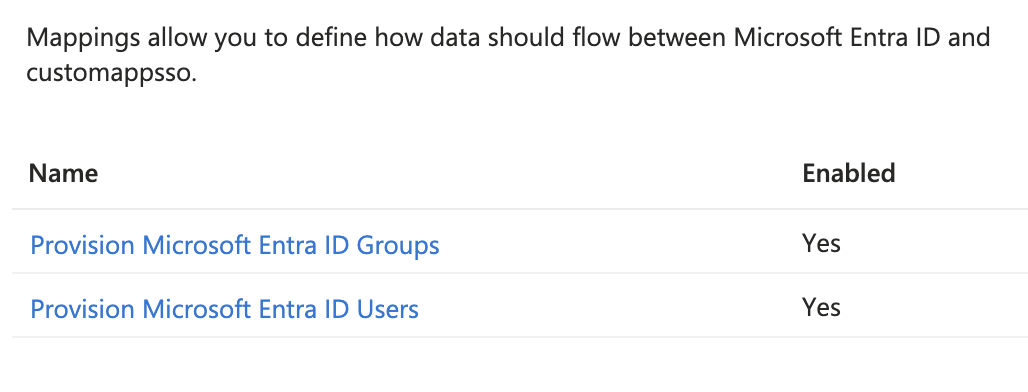
3 Attribute Mapping Configuration
In the sidemenu, click Attribute Mapping in the Manage section to change and validate the mappings.
Click the Provision Microsoft Entra ID Users mapping.
eHour uses the following SCIM (customappsso) attributes, make sure they are mapped to your relevant Entra ID Attributes. By default, core SCIM attributes (like userName , emails , etc.) are already mapped. Please remove (default) attributes that are not in this list.
| Usage in eHour | SCIM (customappsso) Attribute | Entra ID Attribute |
| Primary user identifier | userName | userPrincipalName |
| Active flag for restore / archive | active | accountEnabled |
| User firstname | name.givenName | givenName |
| User lastname | name.familyName | surname |
| Email address for notifications | emails[type eq "work"].value | |
| Line manager | urn:ietf:params:scim:schemas:extension:enterprise:2.0:User:manager | manager |
First Day At Work mapping
You can map the hiring date in Entra to the First Day at Work field in eHour. This allows you to pre-create users. In eHour, users do not receive notifications and are excluded from reports until their first day at work. Instead of creating a custom schema, we reuse the existing costCenter attribute (which eHour does not use) to send the date.
- On the Attribute Mapping page, scroll to the bottom and enable Show advanced options.
- Click Edit attribute list for customappsso.
- In the attribute list, scroll to urn:ietf:params:scim:schemas:extension:enterprise:2.0:User:costCenter attribute (likely the 2nd extension field).
- Set the type to DateTime.
-
Click Save.

- Return to the Attribute Mapping page and click Add New Mapping.
- Select employeeHireDate from Entra ID as the source attribute and map it to the newly created urn:ietf:params:scim:schemas:extension:enterprise:2.0:User:costCenter field.


Target Object Actions
On this page, make sure the Create, Update, and Delete actions are selected. This ensures Entra ID sends all user management actions to eHour.

Teams
This depends on the team derivation mode you selected in eHour.
When setting up provisioning, you can decide how teams in eHour are created. There are two options:
When you selected Entra ID Groups to eHour Teams
-
Make sure Groups and Users are enabled.
- Make sure the urn:ietf:params:scim:schemas:extension:enterprise:2.0:User:department attribute is not mapped in the User mapping.

When you selected the Company/Department attribute:
Use this if you prefer teams to be based on departments instead of groups. Teams are created based on the department attribute in the user object.
To enable:
- Disable the group mapping by clicking the "Provision Microsoft Entra ID Groups" mapping and setting selected to false, click save.
- In the user mapping, make sure the department field is mapped:
| Usage in eHour | SCIM (customappsso) Attribute | Entra ID Attribute default values |
| Team prefix (optional) | urn:ietf:params:scim:schemas:extension:enterprise:2.0:User:organization | companyName |
| Team name | urn:ietf:params:scim:schemas:extension:enterprise:2.0:User:department | department |
To add new mappings, use the Add new mapping link at the bottom of the attribute table. In the "Edit Attribute" screen, you only need to change the source attribute and target attribute fields. Leave the rest on their default values:

After validating the mapping, don't forget to click the Save button at the top of the screen. Close the attribute mapping to return ot the eHour enterprise application.
4 Selecting users and groups to provision
To explicitly assign which users and/or groups should sync to eHour, first ensure that Entra ID is not syncing all users:
- In the Manage sidebar, go to Provisioning.
- Expand the Settings.
- Ensure the Scope is set to "Sync only assigned users and groups".
- Click Save to store the setting.

To select the users to provision:
- In the Manage sidebar, go to Users and groups.
- Click Add user/group.
- In the blade that opens, click None selected.
- Choose the users and/or groups you want to provision.
- Click Select at the bottom.
- Finally, click Assign to confirm.
5 Testing the provisioning
You can test provisioning by syncing an individual user before enabling it for everyone.
Important: If you want a user’s manager to be included, you must provision the manager first. Otherwise, Entra cannot reference the manager’s eHour ID and will skip the attribute.
Steps:
- In the Enterprise App, open Provision on demand from the sidebar.
- Select a user and click Provision.
- After provisioning, you’ll see a list of all attributes sent. Use this to verify that your Entra attributes are correctly mapped to SCIM (eHour) attributes.
6 Start Automatic Provisioning
Once you’ve validated the mappings with test users, you can enable automated provisioning for everyone.
- Open Overview from the sidebar.
- At the top, click Start provisioning to turn on automatic sync.
- Use the Provisioning logs in the sidebar to monitor progress and troubleshoot any issues.